

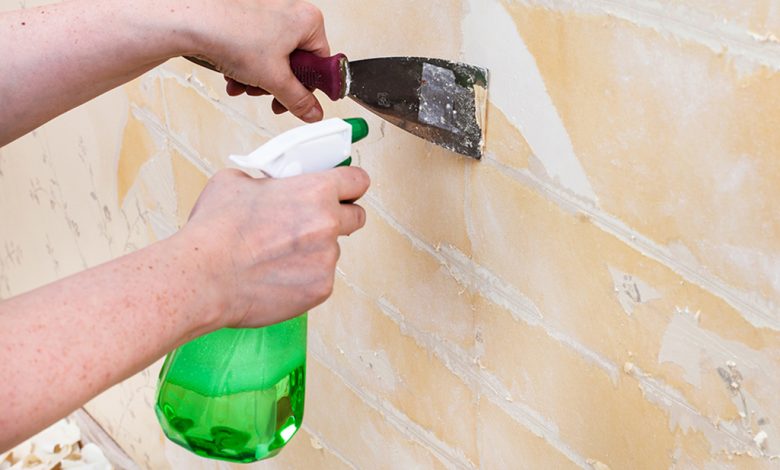
A Practical Starting Point for Anyone Ready to Clear Old Walls
Wall updates often feel bigger than expected, especially when the old paper refuses to budge. This guide was shaped with a straightforward goal in mind: helping you avoid the exhausting tug-and-scrape routine by choosing tools that actually work. You get a more straightforward path when a project moves forward with the help of shop wallpaper removers that loosen old adhesive without damaging the surface beneath. We wanted this guide to remove the guesswork so you know what to use, how to use it, and what to expect before you even start.
You will see direct notes about softening agents, wall prep, removal timing, and ways to handle stubborn sections without pushing too hard. The focus stays on simplicity, not complicated instructions. You also get tips for choosing the right formula for your wall type, so the removal goes more smoothly and faster. Everything here aims to give you confidence, not confusion, as you plan your next change.
By the time you finish, you will have clear steps that help old wallpaper lift away cleanly, with less stress and far fewer surprises.
How To Prepare Your Walls for a Safe and Effective Removal Process
Start by giving yourself a clean work zone. Move furniture, cover the floor, and turn on steady lighting so you can spot problem areas early. Check the wall paint for any sections that show cracking or bubbling. These signs help you understand how gently you need to work. You should also score the wallpaper lightly if the surface feels glossy or sealed. This allows the remover to reach the adhesive beneath the paper.
Keep a cloth nearby to quickly wipe up excess moisture. Dry walls respond better to treatment cycles. The goal is to give the remover an even chance to soften the glue without dripping or pooling in certain spots.
Helpful prep notes
- Cover floors and protect nearby items
- Score glossy wallpaper to let remover in
- Use steady lighting to see trouble areas
- Keep a cloth to manage moisture
Why Quality Removers Save Time and Prevent Wall Damage
High-quality removers are designed to break down adhesive without damaging the drywall or plaster beneath. This helps you avoid scraping too hard, which is where most damage occurs. A good remover loosens the paper evenly so that you can peel larger sections rather than tiny strips. This reduces frustration and shortens your work time.
Some formulas also help limit residue, meaning you spend less time cleaning after the paper comes off. You want a product that softens without strong fumes or harsh chemicals. This keeps the process safer, especially in smaller rooms.
Important points
- Loosen adhesive without harsh pressure
- Peel larger sections for faster results
- Reduce residue and cleanup time
- Protect your base wall from damage
How You Can Apply Remover in a Way That Avoids Common Mistakes
Application timing matters. Please start at the top of the wall because gravity pulls the remover downward, helping it soaks evenly. Use a sponge or sprayer to apply a consistent layer. Wait the recommended time so the formula can fully break down the adhesive. Rushing this part makes removal more challenging.
When lifting the wallpaper, pull gently at a steady angle. If a section resists, apply a bit more remover and wait again. For thick paper or older adhesive, work in small sections to manage control.
Application tips
- Begin at the top for even soaking
- Wait for full soak times for easier peeling
- Reapply remover on stubborn areas
- Work in sections for better results
What Helps You Clean the Wall and Prepare It for a New Design
Once the old wallpaper is off, you want to create a clean base for the next layer of paint or paper. Start with a mild soap solution to remove leftover adhesive. Rinse with a damp cloth and let the wall dry completely. If bumps or soft spots appear, sand them lightly. Smooth walls help any new paper or paint look crisp.
Check for small holes or dents. A simple filler patch can fix these quickly. When the wall is dry, smooth, and even, you are ready to move on to the next step in your design.
Cleanup reminders
- Remove leftover adhesive with mild soap
- Rinse walls and allow full drying time
- Sand lightly where needed
- Patch dents or holes early
A Final Note to Help You Move Forward with Confidence
We shaped this guide to make your subsequent wallpaper removal feel steady and manageable, not overwhelming. If you ever want help choosing a remover or planning your next wall update, we are here to support you with straightforward guidance and a calm, practical approach.
Reach out whenever you are ready to take the next step toward a cleaner, refreshed space.


